How to set up Google Analytics tracking for WordPress websites with and without a plugin
Google Analytics is a free web analytics service by Google that tracks and reports website traffic and user behaviour. Everyone with at least a bit of interest in digital marketing, web development and even website owners have encountered Google Analytics in their career. It is a tool marketers can’t live without.
But what happens if you’re a small business owner and don’t have a dedicated developer to embed the code for you? Well that’s not a problem, I will show you a few easy ways to embed Google Analytics tracking code to your WordPress website without any hassle and without any coding knowledge.
First let’s sort out the basics. We need to make sure you have Analytics account set up in order to get a tracking code.
If you still don’t have Analytics account you can sign up here.
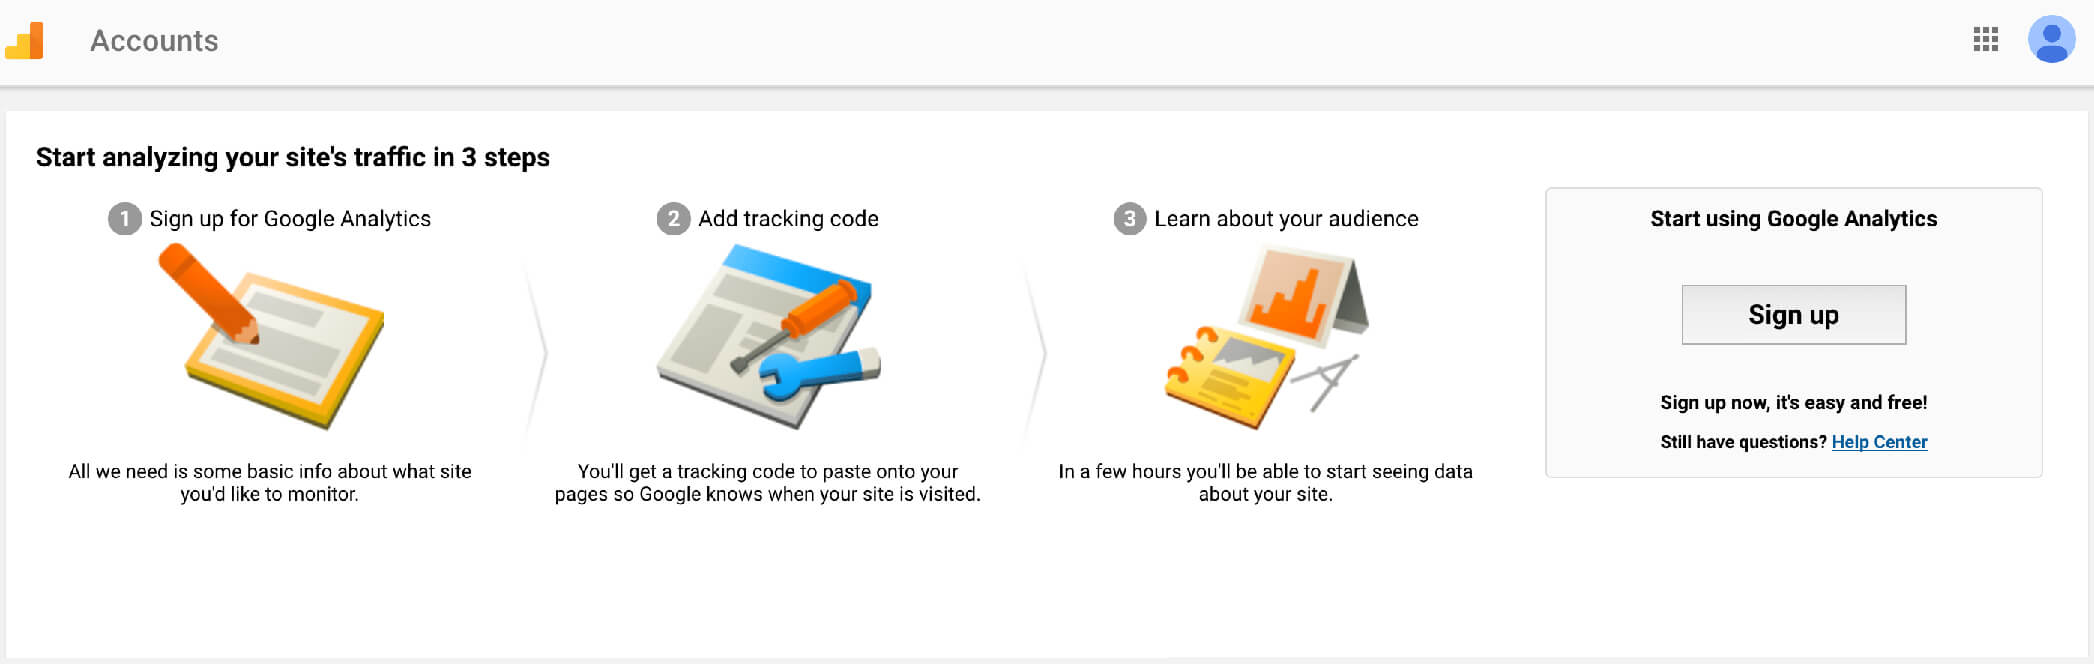
That’s it! You now have a Google Analytics account.
Let’s cover some basic terms in Google Analytics – Property & View
A property represents your website or app and a view lets you create filtered perspectives of your data; You can have multiple views and properties in each analytics account depending on your needs.
For example if you have one website with multiple subdomains you can set up a property for each subdomain as a separate property or if you have multiple businesses and you want to have them all under one Business Account for easier navigation you can set up different property for each business.
Each property can then have multiple views: one for mobile, one for desktop (if you have different layouts), or even different views for each region if your business has multiple locations.
But for now let’s stick with the basics – 1 View and 1 Property.

Now after we’ve covered some basics we can go to the next, final step which is installing our tracking code to start receiving data. You won’t be able to receive data until this step has been finalised.
Navigate to Admin-Property View-Tracking Info and you will see the tab called “Tracking code”
![]()
Copy this code. This is your Java Script code and it will make sure Analytics receive your data.
OK, we’ve successfully set up Analytics, successfully copied our tracking code, now the last step is to install that code on your website.
There are few ways of installing codes on WordPress websites; with or without plugins. I would always recommend using the option without a plugin as most of the plugins will slow down your website and some of them are not working properly. But if you however decide to go with a plugin here are two I found most useful in my career.
EMBEDDING ANALYTICS CODE WITH A PLUGIN:
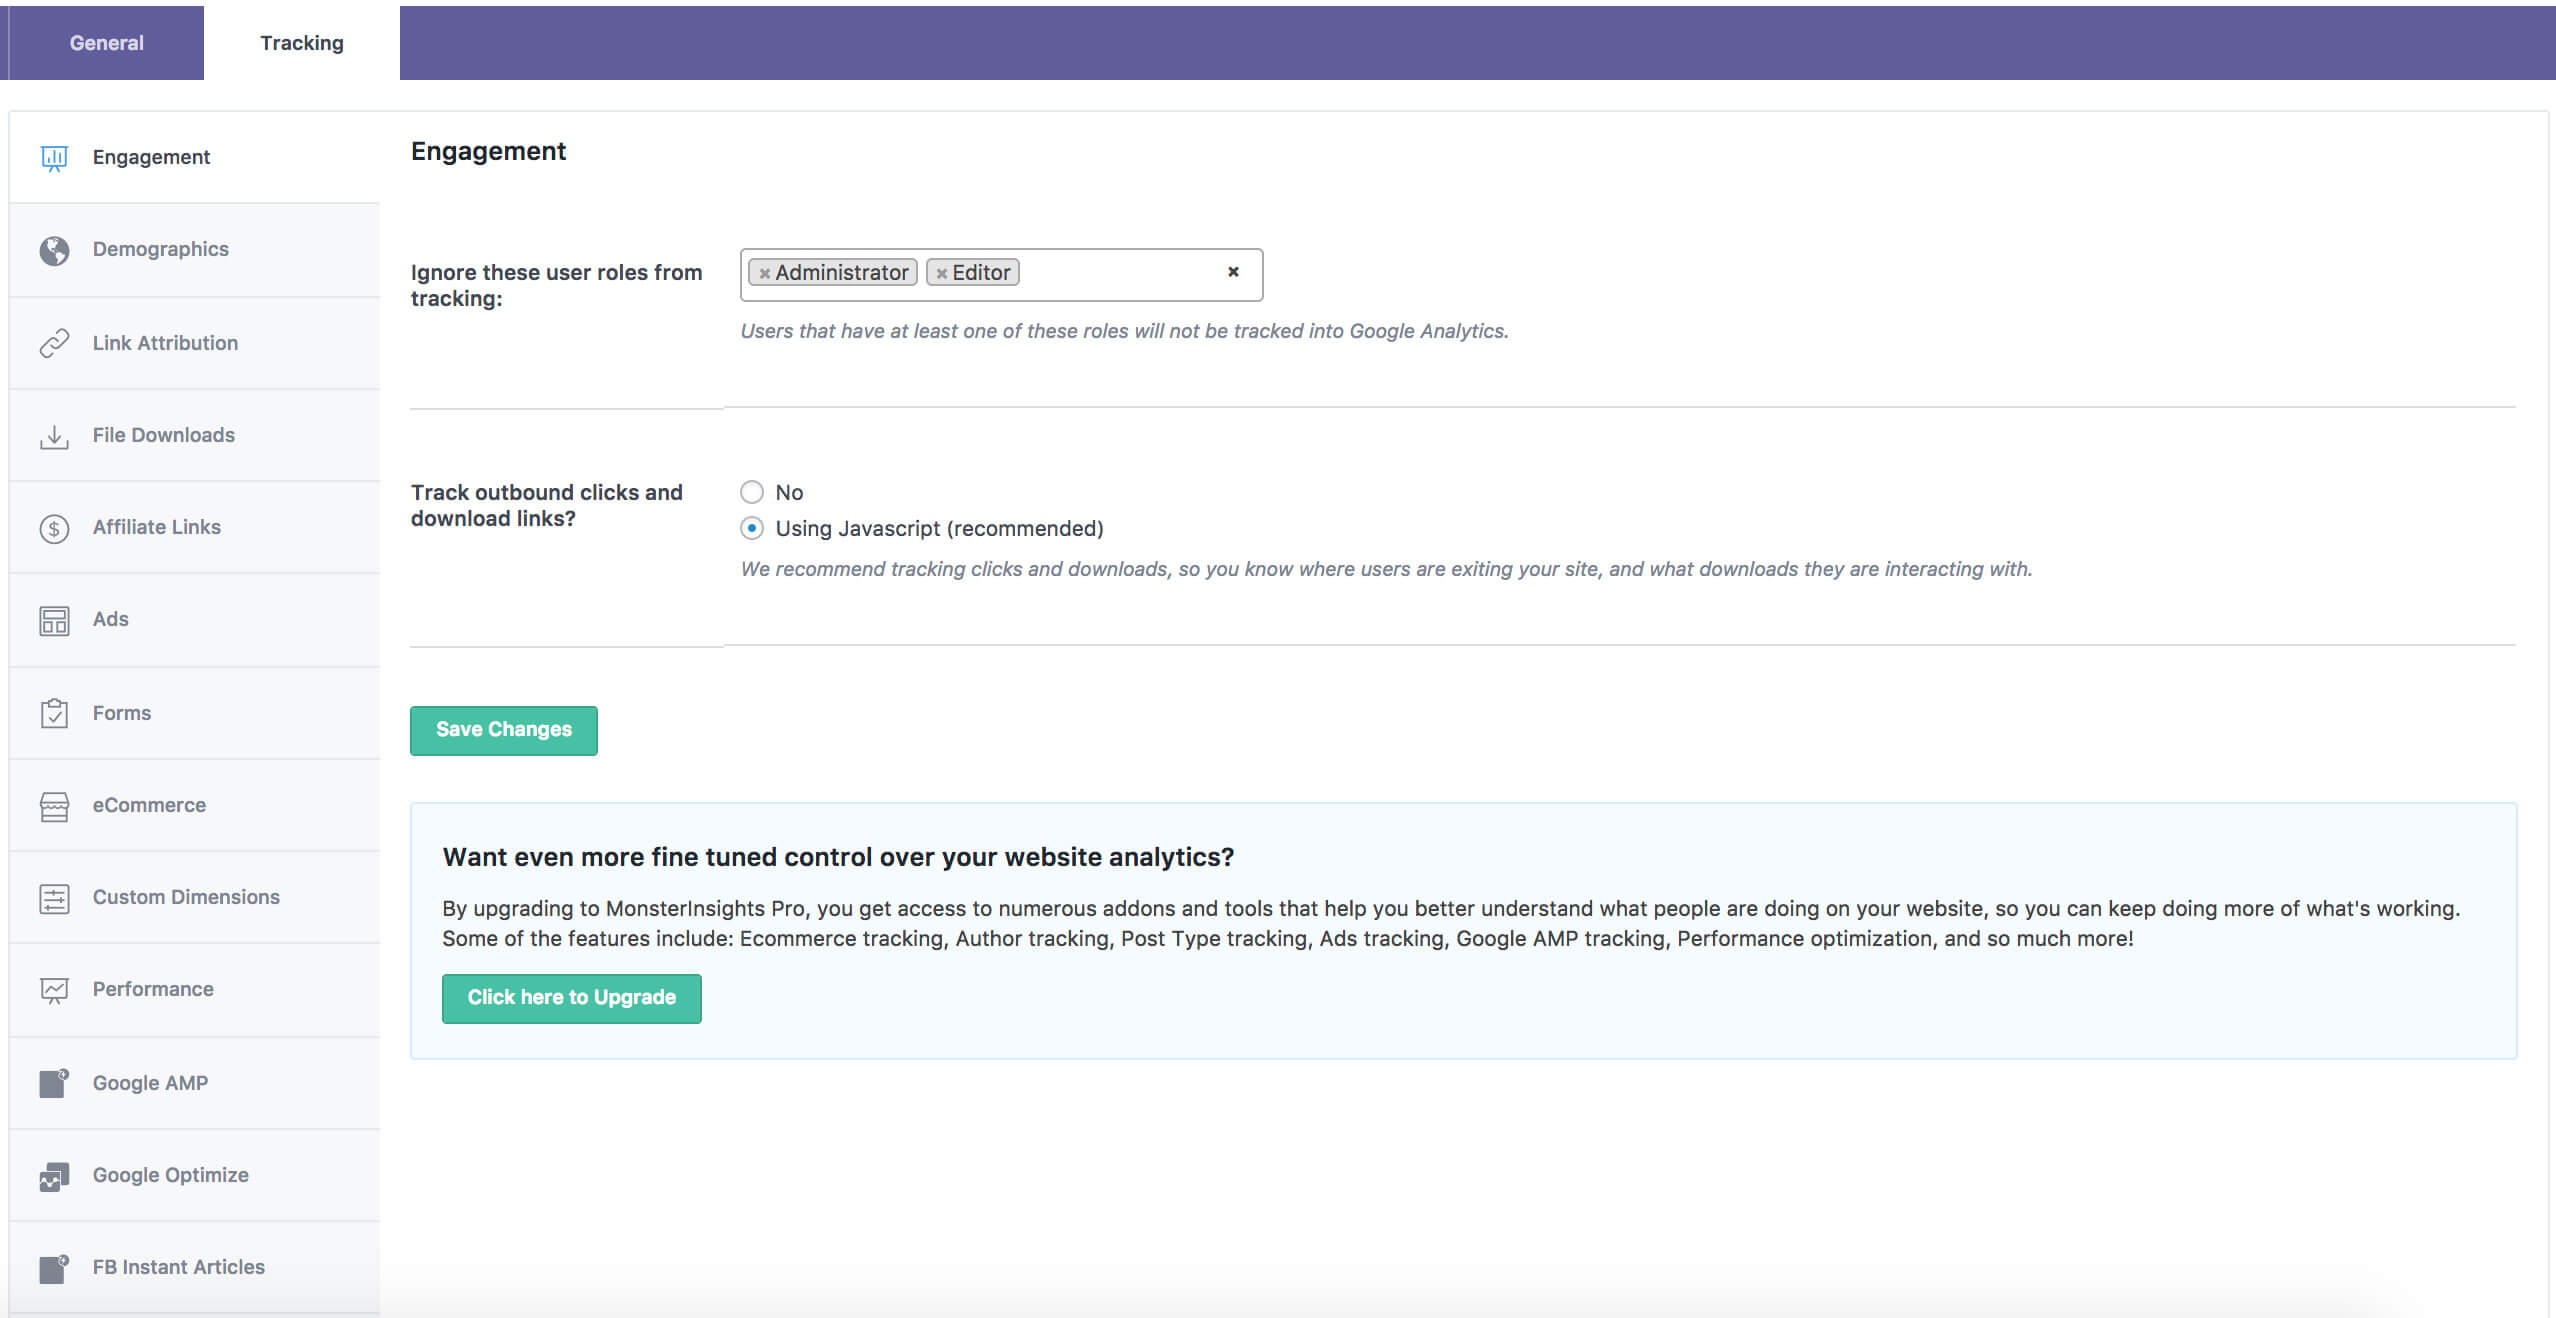
1.) MonsterInsights Wordpress Plugin – Free
This plugin is pretty straight forward to set up and it has loads of goodies built in like Facebook Instant Articles, Google AMP Pages, eCommerce, Forms, Ads and Google Optimize for A/B testing. These are just some of the coolest features this plugin provides.
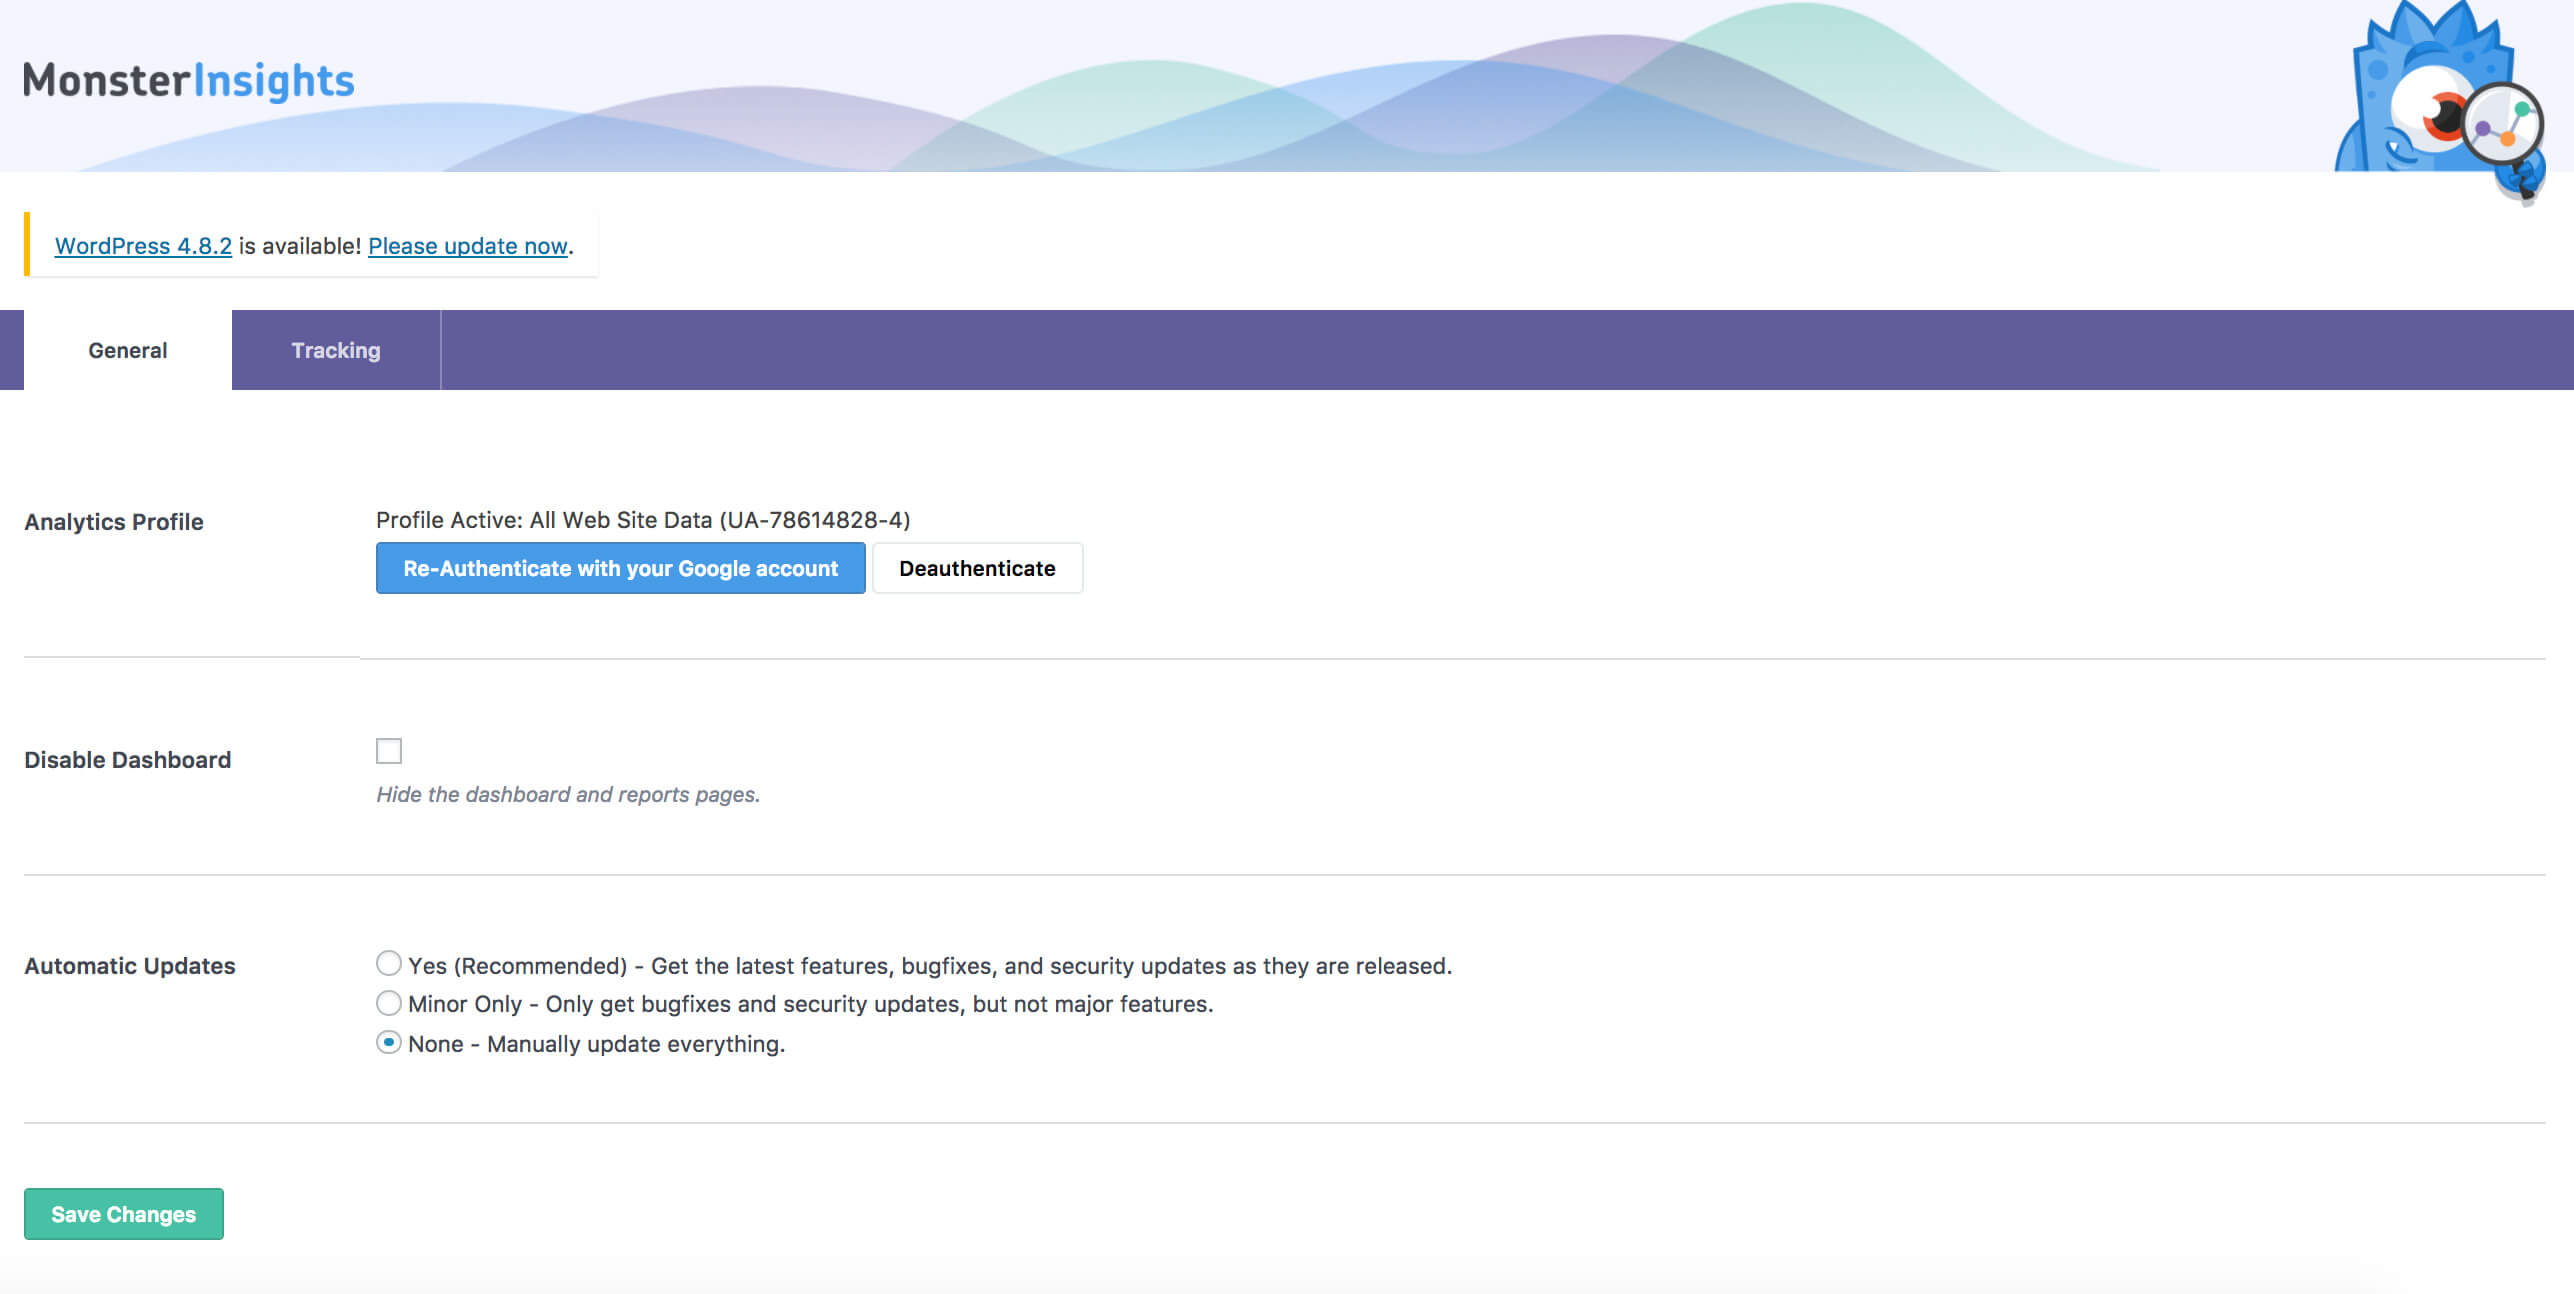
 Price: Free
2.) Analitify WordPress Plugin – Premium
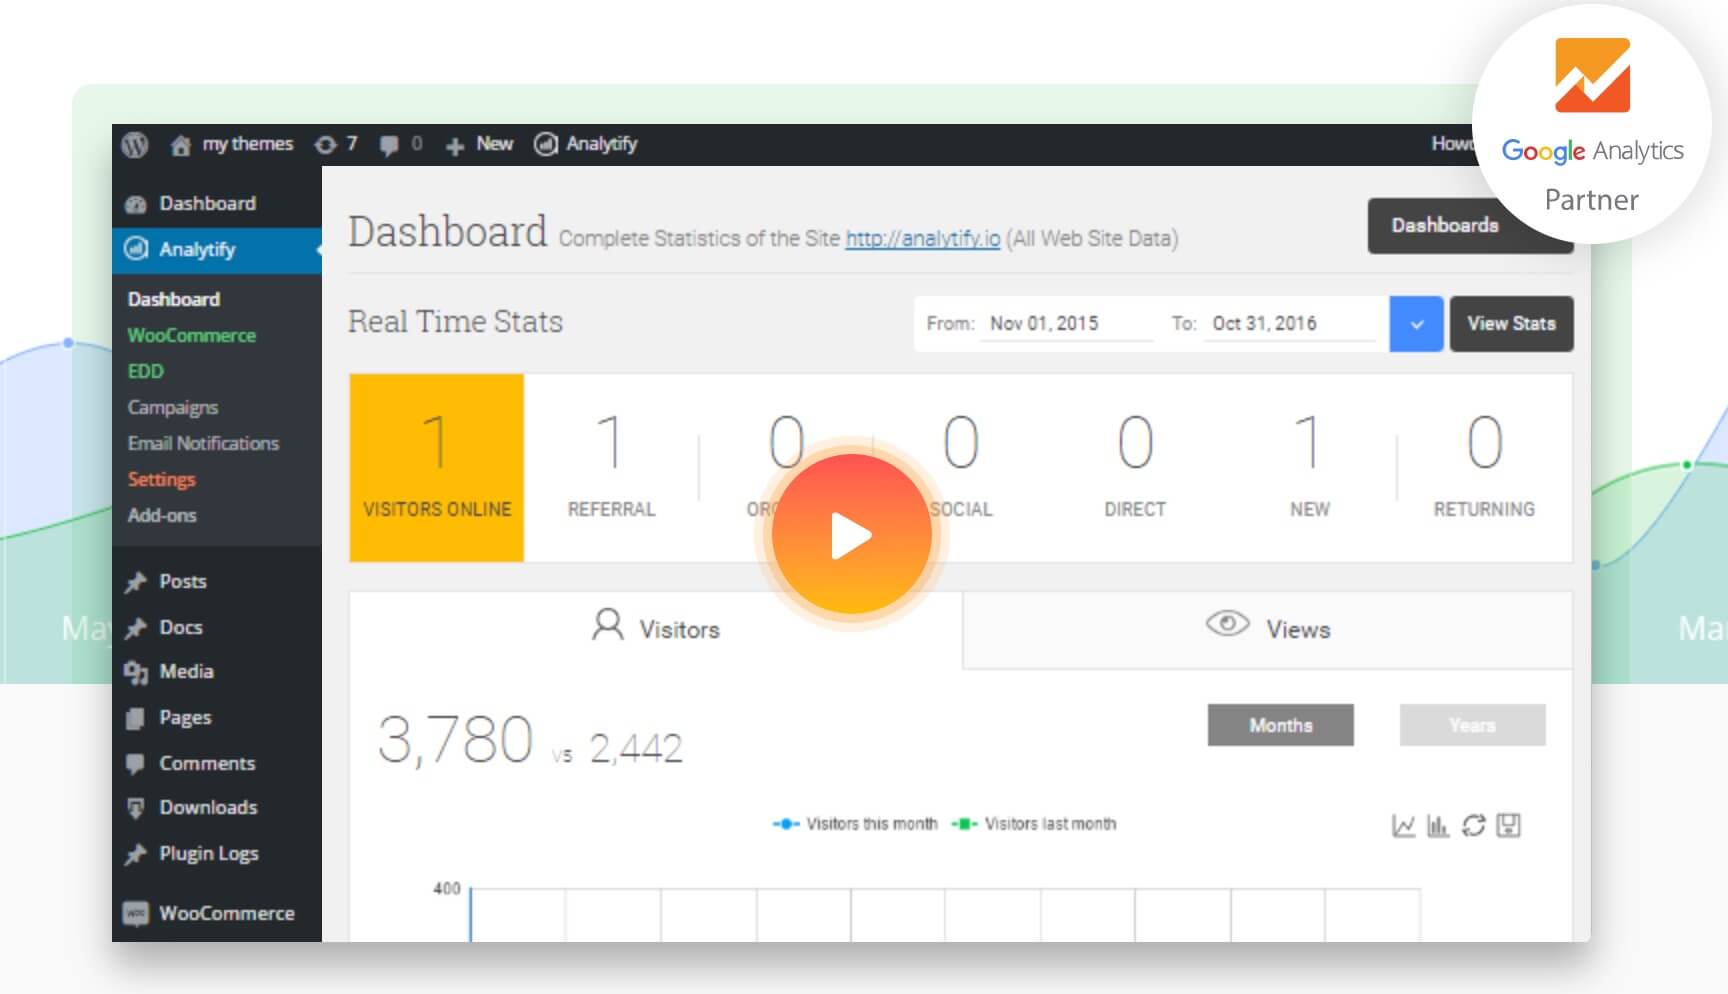
Analytify is a simple, yet detailed interface.
Analytify’s feature list includes the following:
- Page-level analytics.
- Custom post type analytics.
- Social media stats.
- Real time stats.
- Front-end reporting.
- Enhanced e-commerce tracking.
Price: $39.00
EMBEDDING ANALYTICS CODE WITHOUT A PLUGIN:
1.) Embed the code via Header.php
In the admin area of your WordPress website navigate to Appearance – Editor – Header.php

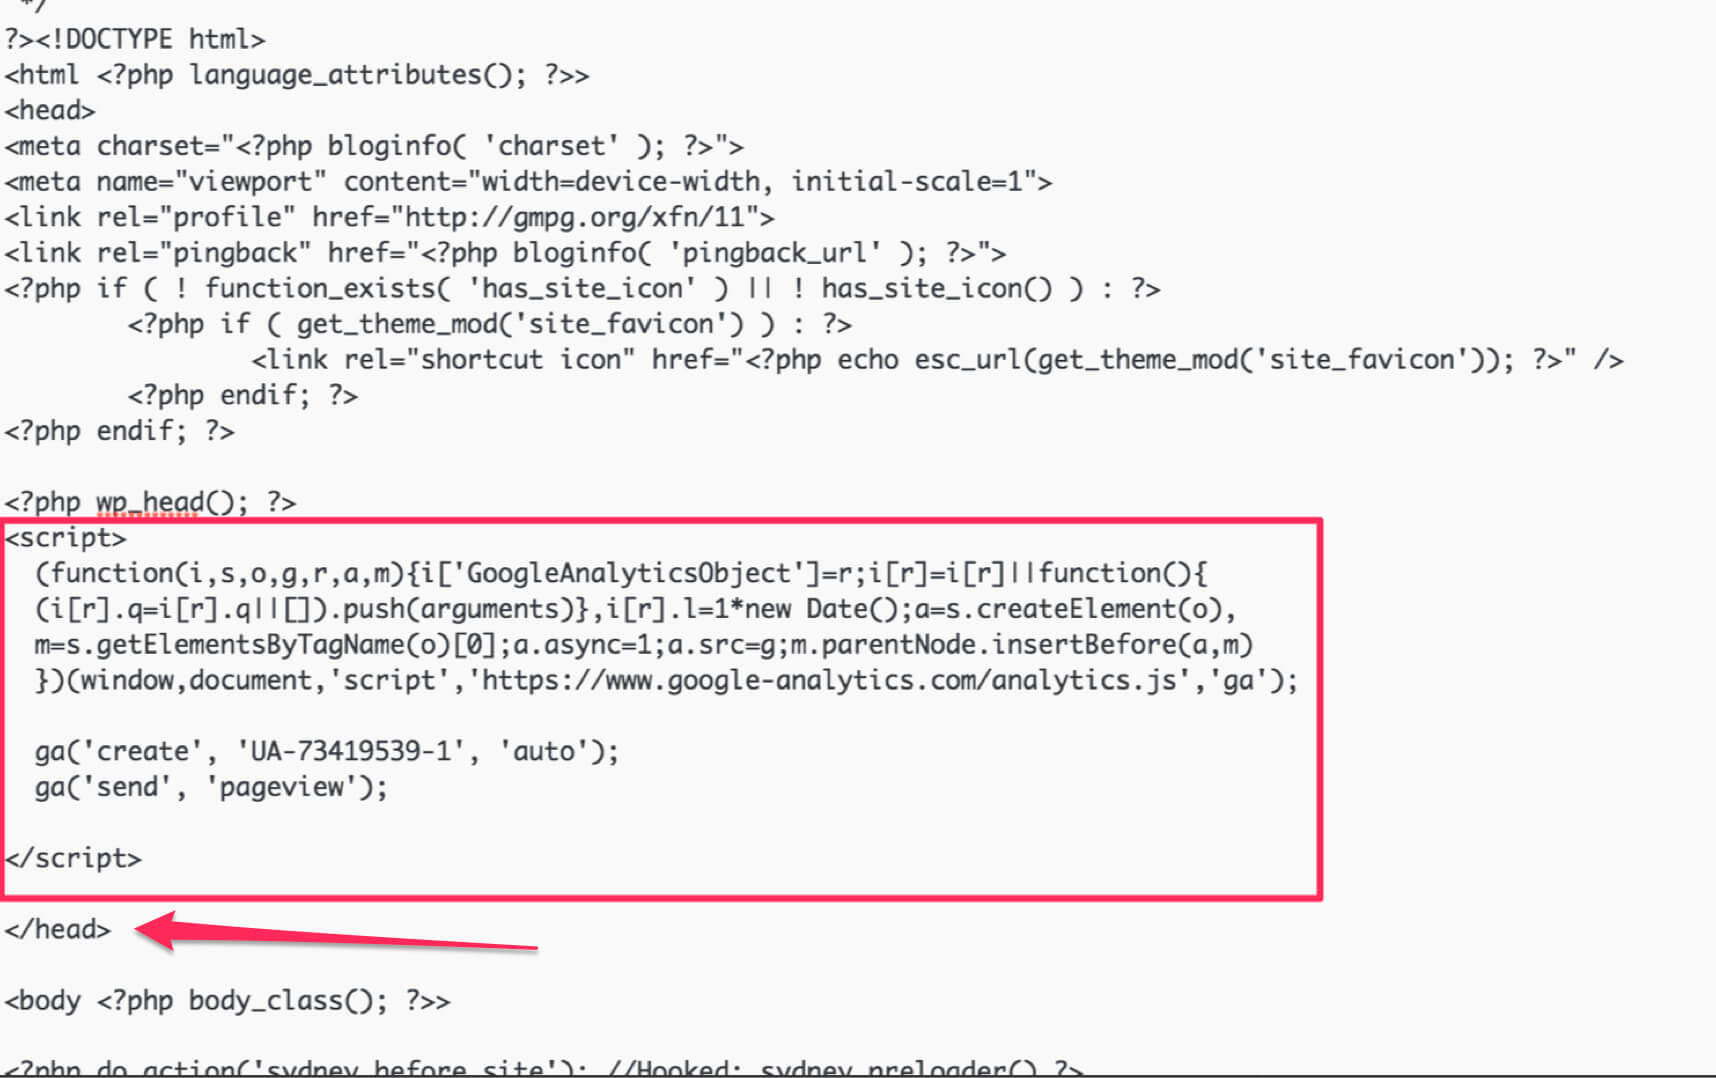
Once you click on Header.php you will get something similar to this below.
Remember that code we copied in the first step? Yep, that tracking code I said we will need in our next step. Take that code and add it just before the </head> and save it once you’re done. You can just search for </head> using Cmd+f on Mac or Ctrl+f on Windows. Don’t get frightened by the code in Header.php, you won’t need to change anything, only add that code we copied from Google Analytics.
Click Update File and Voila! That’s it, you have now successfully installed your Analytics tracking code without the plugin!
2.) If you’re using a child theme, you can embed your code in Functions.php.
If you’re using a child theme you won’t have access to Header.php. You have two options here, one is to change the theme and choose your theme instead of your child theme and add the code to Header.php as we explained in the previous step. (Go to Appearance – Editor – Select theme to edit – Choose your main theme instead of Child Theme) Or second way is to embed the code in Functions.php. Process is similar.
Navigate to Appearence – Editor – Functions.php
Now copy and paste the code below:
<?php add_action(‘wp_head’, ‘add_google_analytics’);
function add_google_analytics() { ?>
/* Paste your Google Analytics code here */
<?php } ?>
Replace this line: /* Paste your Google Analytics code here */ with your Analytics tracking code that you have copied before.
That’s it, once again you have successfully embedded a code to your website.
CONFIRMATION:
Now you need to double check if your tracking is working. This step is really important!
- First I would always recommend installing Google Tag Assistant Chrome Extension, It will come handy once you start embedding various codes to your website and it will always tell you if all your tracking codes, including Google Analytics, have been installed properly, and if not, what should be fixed.
- Second log in to your Analytics account and go to Real Time traffic, if you haven’t set up in settings not to count Admin traffic, you should see at least one real time visit – you.
- If you have set up Analytics not to track your visits, you can always send “Test traffic” in Google Analytics to see if the code was embedded properly.
You’re all done! Happy analysing!
Let me know in the comment section below if you had any difficulties with installation.

